
When installing architectural LED aluminum profiles on a project site, fitting the PC diffuser (cover) can sometimes be more challenging than expected. Due to small dimensional tolerances in aluminum extrusion and diffuser manufacturing, the fit between the profile and diffuser may range from slightly loose to very tight.
Understanding the different types of diffuser fits and using the correct installation technique can make assembly faster, reduce the risk of diffuser movement or fallout, and help prevent cracking during on-site cutting.
Understanding the 3 Types of Diffuser Fit
Loose Fit — Risk of Diffuser Fallout
The Issue:
Due to tolerance variations between the aluminum profile and PC diffuser, the cover may fit too loosely. In downward-facing, suspended, or vibration-prone installations, this can increase the risk of the diffuser moving or coming out of the profile.
On-Site Solution:
For applications where additional retention is required, small dots of neutral-cure clear silicone adhesive can be applied along the inner mounting lip at approximately 500 mm intervals before installing the diffuser.
This provides additional holding force without significantly affecting the appearance of the finished installation.
Sliding Fit — Ideal for Long Continuous Runs
The Characteristic:
A sliding-fit diffuser can be inserted from one end of the aluminum profile and pushed along the entire length without requiring significant downward pressure.
The Advantage:
This method is particularly convenient for long, continuous LED runs because it allows the diffuser to be installed quickly and efficiently.
The Cutting Hazard:
However, a loose sliding fit can create a problem during miter cutting. If the diffuser remains inside the profile while making a 45° cut, blade vibration may cause the unsupported plastic to crack or fracture.
Professional Cutting Tip:
Before cutting, tightly secure the aluminum profile and diffuser together around the cutting area using clear stretch film or masking tape. This helps reduce vibration and supports the diffuser during sawing, resulting in a cleaner and more stable cut.
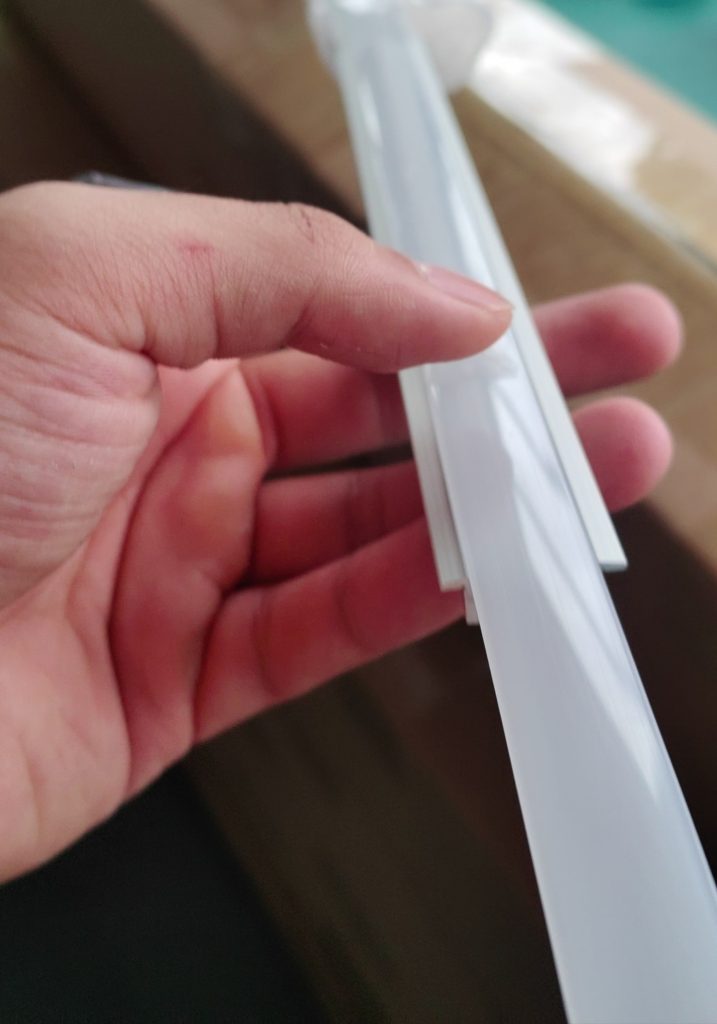
Snug Press-Fit — The Preferred Fit
The Standard:
A properly fitted diffuser should engage securely with the profile and provide a clear tactile snap during installation. Once installed, the diffuser should remain firmly in place without excessive lateral movement.
A secure press-fit helps reduce the risk of diffuser movement or light leakage and provides better retention, particularly for downward-facing installations.
How to Install a Tight LED Profile Diffuser: The 45-Degree Snap-In Technique
Some extrusion batches may have a tighter interference fit than expected. In these cases, trying to press the diffuser straight down with excessive force can make installation difficult and may place unnecessary stress on the diffuser or the profile’s retaining lips.
A 45-degree snap-in technique can make the installation considerably easier.
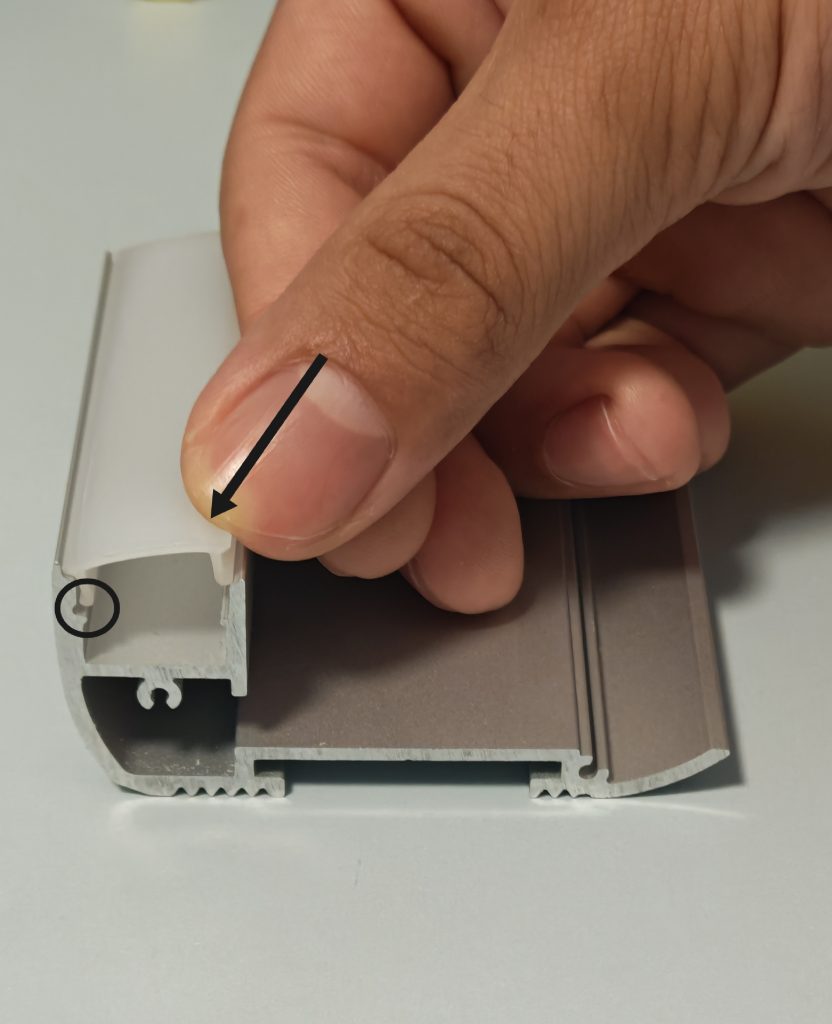
Step-by-Step Installation
1. Anchor One Side First
Hook one retaining leg of the PC diffuser fully into the corresponding groove inside the aluminum profile.
2. Apply Diagonal Pressure
Place your thumb on the opposite edge of the diffuser and apply pressure diagonally at approximately 45 degrees downward and inward, following the direction shown by the arrow.
3. Slide and Snap the Diffuser Into Place
Maintain the diagonal pressure while moving your thumb progressively along the profile. The diffuser will gradually engage with the locking channel, allowing the cover to snap into place with significantly less effort than pressing straight down.
This technique is especially useful when the diffuser-to-profile fit is tight and conventional vertical pressing requires excessive force.
Final Tips for Installing LED Profile Diffusers
The correct installation method depends largely on the fit between the diffuser and the aluminum profile.
- Loose fit: Consider additional retention where the application requires it.
- Sliding fit: Use the slide-in method for long runs and secure the diffuser before cutting.
- Snug fit: Use the standard press-in installation method.
- Tight fit: Use the 45-degree snap-in technique rather than applying excessive vertical force.
- Before miter cutting: Always secure the diffuser properly to minimize vibration and reduce the risk of cracking.
Choosing the appropriate fitting technique not only makes installation easier but also helps achieve a cleaner, more reliable result on the finished LED lighting project.
The LEDLINEA Standard: Reliable Diffuser Installation on Real Job Sites
At LEDLINEA, we understand that diffuser installation is a small but important part of achieving a clean and reliable LED lighting installation. The right combination of profile and diffuser fit can make assembly faster, reduce movement or fallout, and help prevent damage during cutting.
From sliding-fit diffusers for long continuous runs to secure press-fit covers and practical 45-degree installation techniques, we focus on solutions that make LED profile installation easier and more predictable on site.
Need help choosing the right diffuser or LED profile? We can provide samples and technical recommendations based on your installation requirements.
Looking for a specific profile, diffuser material, or custom solution? Contact our team to discuss your project and find the right combination for your application.
👉 [Insert Link: https://ledlinea.com/contact-us/]